If you’re in the midst of building your own house and have decided on solar, it might be difficult to visualise how the solar installation process will tie in with the construction of your new home.
This is why we’ve come up with this guide, which addresses:
Let’s jump right into it!
Key Considerations During Building Construction
These are some primary considerations you have to keep in mind when building your new house in order to ensure solar installation is as smooth as possible.
Roof Structure
Your roof structure should be as unobstructed as possible in order to maximise the number of panels on your roof in one installation. This is important as it lowers your unit cost per kilowatt-peak (kWp), given that manpower costs typically take up to 50% of your system costs.
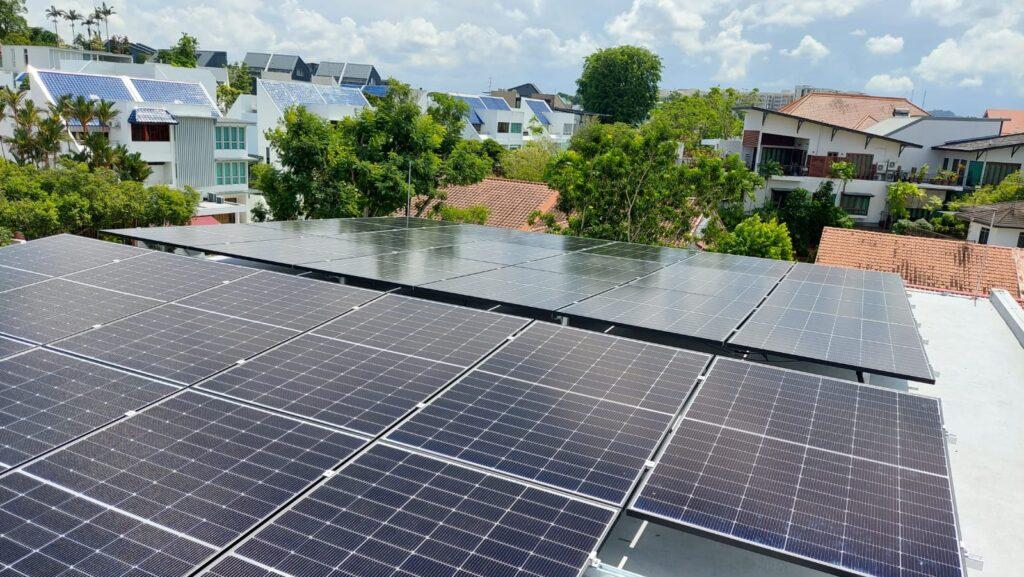
The best way to ensure this is to make sure any kind of roof obstacles, such as vent pipes or sky lights, are placed towards the side rather than the middle of the roof to optimise solar panel placement.
If this arrangement is not possible, having them generally clustered together instead of being dispersed across your roof would be the next best option.
Roof Material
To minimise additional modifications to your roof, you want to make sure your roof is of the correct material. Ideally, your roof should be either a standing seam metal roof or a concrete roof for roof material so that no penetration is required when installing solar panels for your home.
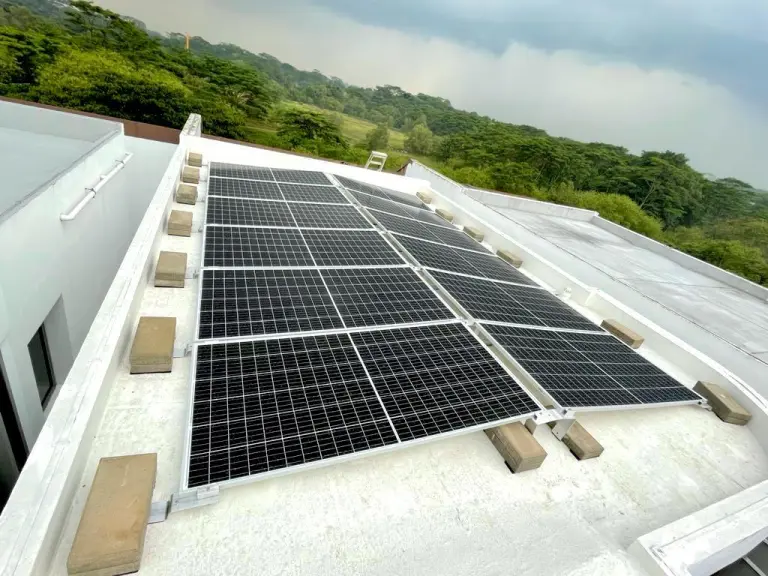
For other types of roof, they might require different penetration methods, which you can read more about here.
Roof Angle
In order to maximise the amount of sunlight that your solar panel system receives, your roof surface should not tilt more than 30 degrees. Having either a flat roof or a roof with a 10 degree tilt is most optimal.
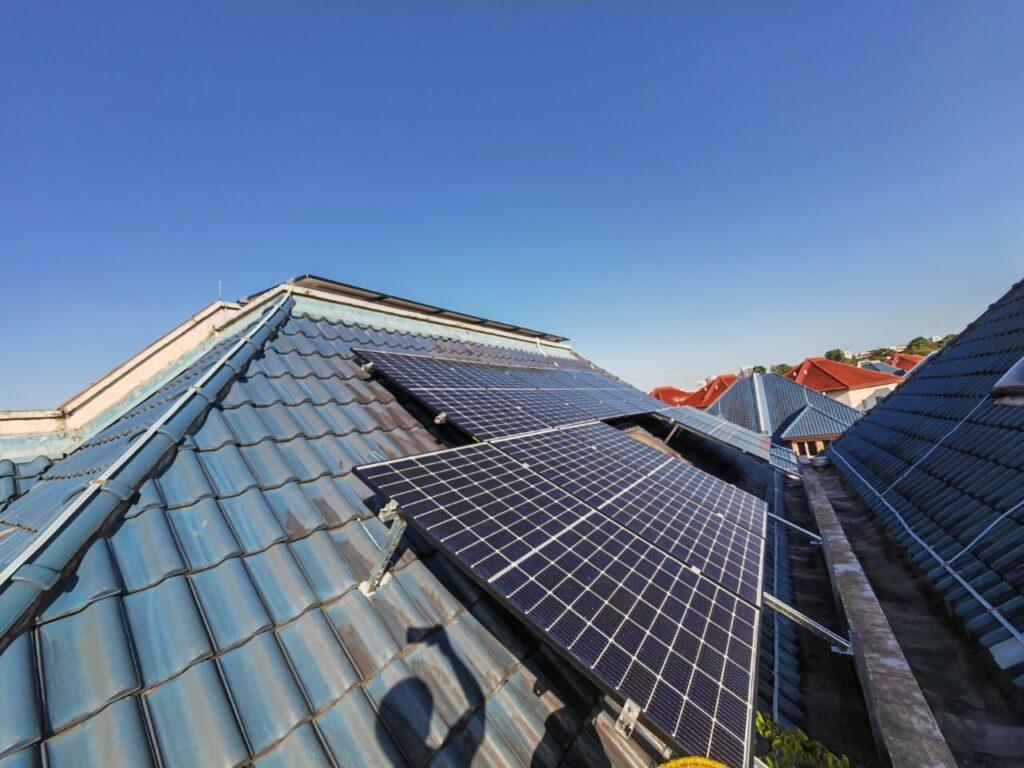
When it comes to the direction your roof faces, this generally does not matter in the context of Singapore, as Singapore lies on the equator.
You can read more about how the direction and angle of your solar panels affects solar irradiance (a measure of how much sunlight a solar panel receives) here.
Easy Way For Roof Access
When it comes to installing solar, having an easy way for roof access is extremely advantageous. Not only would you be able to save on scaffolding, it also becomes much easier to maintain your solar panels in the future.
Having a vertical access ladder or an open attic balcony which is a single floor that allows direct access to your roof, will suffice.
(BONUS!) 3 Phase Sub Distribution Board Box (DB Box) on attic floor
While this is not a must, having a 3 phase sub distribution board box (sub DB Box) located on the attic floor is ideal. This is due to how solar panel systems are fundamentally structured:
The typical solar panel system generally consists of 3 parts – your panels (of course), inverter and your sub DB box. In order for your solar panel system to convert solar energy from the sun into usable electricity, the solar panels have to be first connected to your inverter. To distribute the electricity generated after, as well as to sell excess electricity generated to the grid, the inverter is then connected to your 3 phase sub DB box.
Therefore, by having your 3 phase sub DB box located on the attic floor, you would be able to directly connect it to your inverter, rather than all the way to the ground floor. This in turn keeps your cables short, which reduces external transmissions and makes wiring much easier to conceal.
Design Considerations Before Solar Installation
These are some design considerations that are good to keep in mind before solar installation commences in your own home.
Inverter Location
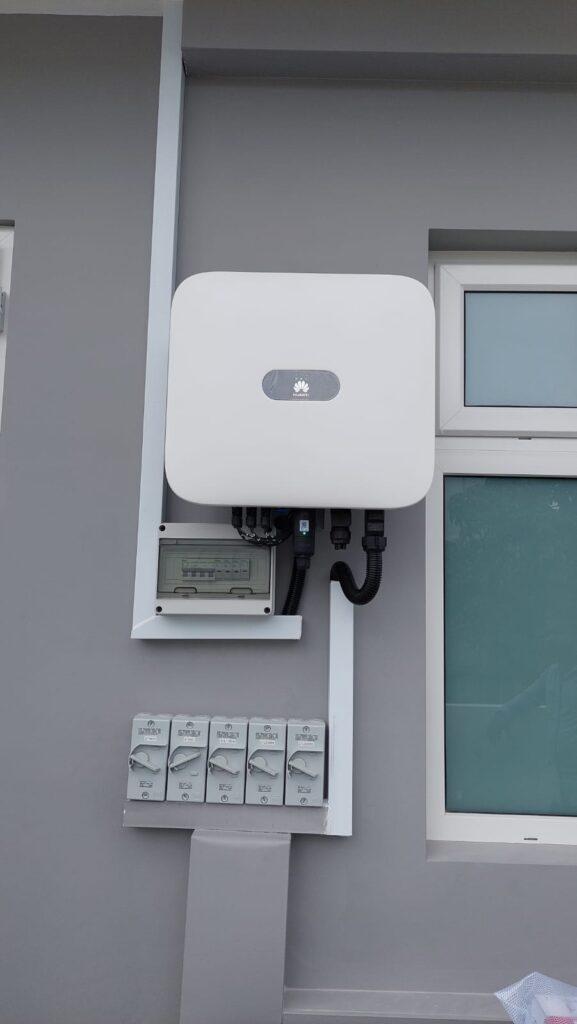
When deciding where to place your inverter, it should be both wall-mounted and located in a well ventilated area, preferably sheltered from direct sun and rain.
Inverters can be placed either at the attic balcony area, or on the ground floor near the main DB box. Most of our customers opt to place it at the attic balcony area as doing so helps reduce cable loss between the solar panel system and the inverter.
You can expect your inverter to be about 550mm in width, equivalent to that of a small backpack and placed at an accessible location (i.e above 0.5m and less than 1.8m in height, as according to SP’s standards).
Concealing Of Wiring
You also might also have questions as to whether it is possible to conceal the wiring connecting your solar panel system, in order to maintain the interior aesthetics of your house.
While it is difficult to conceal the wiring between your panels and the inverter, the wiring between your inverter and DB box can generally be concealed.
Before installation, your solar installer will go through with you the cabling path of your inverter & whether you would require any exposed cabling/trunking case to conceal wiring.
Should your house only have a DB box at the ground floor, the best way to conceal any wires is to discuss your inverter location, and ensure that your AC isolator is located within the premises of the inverter.
The isolator acts as an extension from your inverter, as its AC cables will pull all the way down to your DB box located at the ground floor, while remaining concealed.
You can also technically choose to keep the coils, but exposed coils might lead to SP failing, so do keep that in mind.
General timelines on when to choose a solar installer and when to commence installation
Finally, you might wonder when would be the best time to reach out to a solar installer or commence solar installation when building your house. This section will lay out exactly that, ensuring your installation is one which is smooth and delay-free.
When Can I Start Looking For A Solar Installer?
Generally, we suggest starting to look for a solar installer approximately 6 months before receiving your Certificate of Statutory Completion (CSC) or Temporary Occupation Permit (TOP).
This is so that there is ample time for your solar installer to advise & discuss your solar panel installation, finalise your solar design, as well as to decide your inverter location and cabling provisions.
However, do take note that cabling provisions might change if the size of your solar panel system changes, as the thickness of your AC wires will increase with a larger kilowatt (kW) capacity of your solar panel system.
In the meantime, if you have yet to start looking for a solar installer or are in the midst of doing so, you can consider taking a look at Singapore’s first ever zero upfront cost solar program, Rent-To-Own (RTO). The major upside of RTO over traditional direct purchase offers is that you just have to pay a monthly fee for solar, which comes with complimentary maintenance/servicing & guarantees instant savings every month.
If you wish to explore how RTO can work for you, simply click the button below!
When Can I Start Installing Solar Panels?
The installation of your solar panel system will commence only after you receive your CSC or TOP. This is because installing before receiving your electrical CSC complicates and delays the home’s electrical submissions with SP’s separate solar commissioning process, thereby leading to further delay.
After your home’s CSC, the solar installation process is usually wrapped up within 1 week, taking between 3 to 7 days in length.
How Long Will It Take To Turn On And Commission My Solar Panel System?
Once your solar panel system is complete, it would still take some time for SP Group to commission the system, as a new bidirectional meter to gauge the amount of electricity to be sold to the grid would have to be installed in your new home.
This is normally done up within 2 to 4 weeks, but you can expect the process to last up to 3 months during busy periods.
Summary
Installing solar as a new homeowner might seem extremely daunting, but so long as you are aware of the different considerations, as well as understanding the general timelines that you should abide by, the solar installation process while building your new home will be an extremely smooth-sailing process.
If you decide to not go ahead with solar during the construction phase, that is completely fine as well. However, depending on where your DB location is, there may be exposed wires/trunking to bring cabling from the solar panels to the DB box.
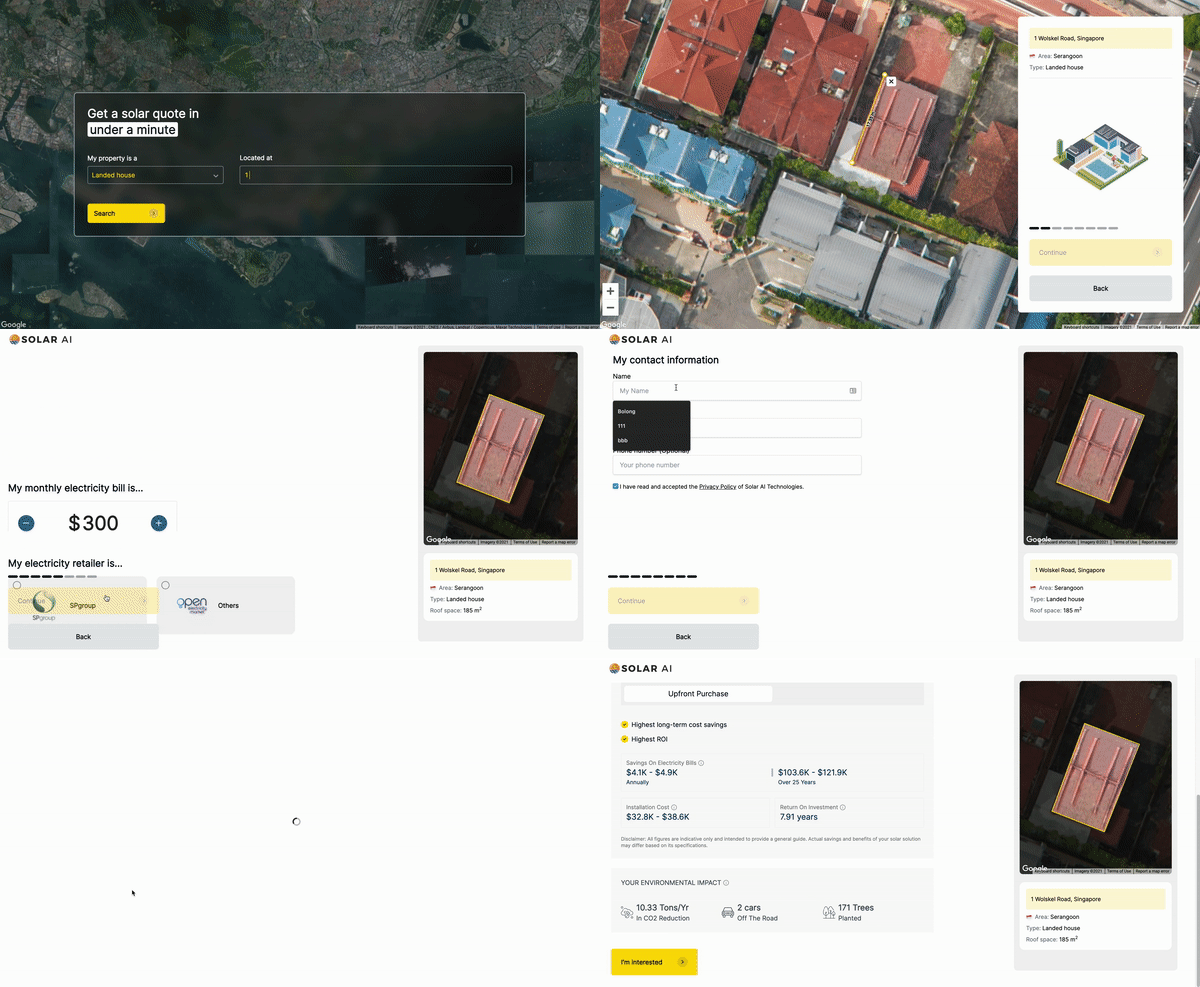
Are you just warming up to the idea of solar, or in the midst of looking for a solar panel installer yourself? Either way, you can use our instant solar assessment tool to get an estimate of the solar potential of your property. Find out how much you can save and compare between different solar price plans to suit your needs!
(For example, we’ve also just released Singapore’s first ever zero upfront cost solar program, which helps you get solar panels on your roof at no upfront cost, so you can start saving with solar from day 1!)

